A long time ago (about 25 years!) I worked for about 2 years for a company called Datastream/ICV. They were an IT company for stock market trading floors, both real-time and research. I worked in ‘the city’ in London. I had to catch the same awful train each morning all the stockbrokers caught while they tried futilely to read the financial times. The train only went one stop, and it was so bad it had its own nickname: The Drain.
As part of my job, because we supported real-time and historical trading software, my work PC had the complete suite of trading analysis software that the company provided. We were expected to be vaguely familiar with what it looked like, so we could check it worked ok. We were not expected to know anything about actual markets and trading, but just by being in that world 8 hours a day you cant avoid picking up a lot of tips and information.
If you think ‘oh I bet the real atmosphere was nothing like I’ve seen in the movies’ you would be wrong. They seem pretty accurate to me. My favorite of the bunch is ‘The Big Short‘ but I also enjoy ‘Margin Call‘, and even, for all its horrors, ‘Wolf of Wall St‘. I have definitely interacted with people like the traders in all those movies.
The full suite of trading software normally costs a staggering amount on a monthly basis, but we had it for free. One bank at one point kept missing their payments, so our company just switched off all the data and their screens went blank, for the whole bank. I’m not sure how long it took for them to make the missing payment but it was definitely just counted in minutes. The company charged a fortune, but they had to provide insane service. If your ICV screen had issues, we would fix it within 20 minutes. We were not even in the same building. We had cars full of replacement kit, and would run to them, drive as fast as possible to the bank, run up stairs with a new PC and swap them out without even saying hello. The actual faulty PC would be looked at later. Also, if there was a problem it would be fixed by the people who showed up, in one visit. Guaranteed, or the world would explode. We would not go home and come back to work on it tomorrow. Nobody goes home. It didn’t matter if it was 4AM, you were not leaving until it was fixed. It was a fascinating place to work.
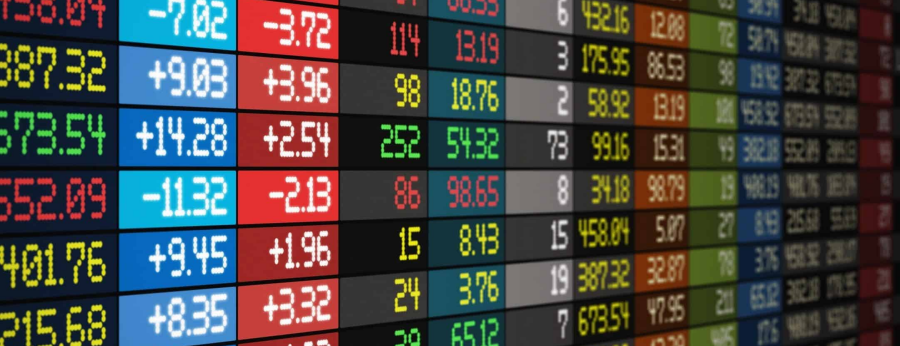
Anyway… it gave me a big interest in the stock market which I already had dabbled in from when I studied for a degree in Economics. I had *some* cash when I worked there, and made a few trades. Our software was so comprehensive I could see my personal trade scroll through on the ticker and know it was me. These days, High-frequency trades and dark pools make that sort of thing academic. Oh well.
Anyway, this blog post is about autism (thats clearly me) and the markets. I think they are a match made in heaven. Trading stocks has a lot of attributes that really scare people off (or means they suck at it), but which seem perfectly fitted to my particular level of autism…
Firstly trading stocks is completely and utterly impersonal. I don’t speak to anybody about my trading, ever. There is no dealer to speak to, and I flat-out-ignore all the emails from my stockbroker for ‘a chat’. All trading is electronic (well…99% of it is), and you can trade all day long without having to talk to anybody. Bliss.
Secondly, trading well requires doing a lot of analysis that is mostly based on numbers. All the information is freely available, and its all in electronic form. If you enjoy making spreadsheets that compare things, this is heaven. Most of all, the numbers are TRUE. Apart from the super-rare cases of outright fraud, we can all know for definite how much revenue Netflix made in the last quarter, and how much their stock has risen or fallen or been diluted. The facts of the matter are never in dispute, the data is absolutely true.
Thirdly, being emotional regarding stocks is a DISADVANTAGE. The more clinical, and analytical you can be, the better. This is an occupation when a cold logical vulcan approach is absolutely beneficial. You do not need the stocks to like you, or make them laugh, or make small talk with them. In fact any kind of emotional reaction to a stock is a negative. The best traders are very very detached from the decisions they are making. Its ideal for people who prefer facts over feelings.

Now saying that is easy. DOING it is staggeringly hard. Humans are vulnerable to so many cognitive biases and stupid emotional outbursts that its amazing we invented the wheel. However you can narrow it down to a few common mistakes people make regarding trading stocks:
- When you buy a stock and it rockets up, people want to SELL so they can ‘lock in their gains’.
- When you buy a stock and it steadily drops over a long period, you hold it anyway to avoid ‘crystalizing a loss’.
- If you really like a product, you sometimes buy a stock thinking that makes it a good stock to buy.
- You want to feel like a hotshot trader so you buy and sell all the time, to feel like you are doing something.
- A stock you buy is up 500%. You sell, because otherwise you are ‘tempting fate’ or ‘being greedy’.
- A stock you want to buy has recently gone up 500%. You don’t buy because ‘you are too late’.
All of this is emotional bullshit. The actual way to trade is simple to describe, staggeringly hard to do. You look at companies that seem like good companies according to your analysis of their product, their leadership, their future plans, the competition. You look at the data regarding their financials, and then you calculate how much their market cap SHOULD be. You can then work out if they are a bargain *at this price*. If so, you buy. And theoretically every day, you do the same analysis. If they ever stop being a bargain you sell.
Sounds easy-peasy (but maybe a lot of analysis)
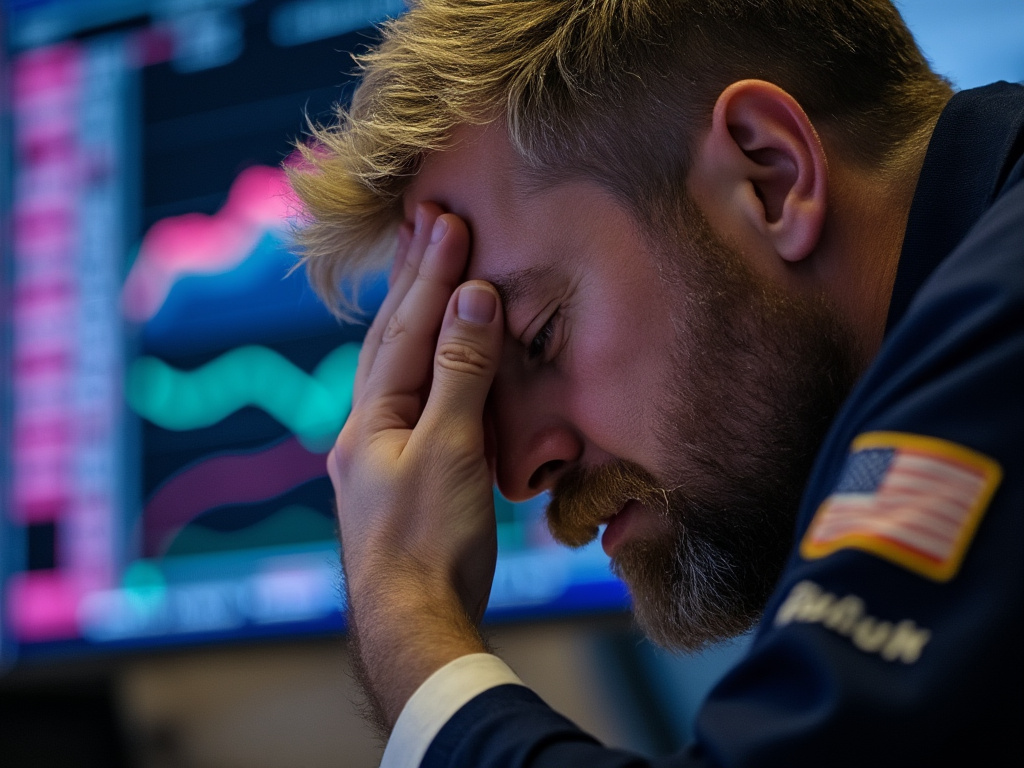
It’s STAGGERINGLY hard if you get emotional. The very hardest thing is loss-aversion. People HATE selling a stock at a loss as this means they have definitely lost money. Even though its clearly dying and dragging you down with it, people cling on like its some sort of pet. This is how most people lose money.
Oh…options…
In the UK, most people don’t trade options. Most individuals do not have access to the full range of options that are traded elsewhere in the EU or US/Canada. I cant find anywhere that sells a lot of LEAPs. Options trading is something that I do not do, although I have done it in the past. The reason I do not do it is that I have learned my lesson. I used to trade options quite a lot, sometimes trading the same option 4 or 5 times a day. I did stocks and also currency options. I thought I got quite good at it, and it seems like easy money.
Then one day I lost a staggering amount of money. I actually don’t want to look up what it was, but I know it was at least 10 years work as a boatbuilder. How long did it take to lose it? About 5 minutes. I could not sleep that night. I was distraught.
To be fair, I was not short of money, and have since easily made it back on normal buy & hold stock trading. I have not traded options since. Options are like nuclear weapons. They all seem like fun and games until Hiroshima is vaporized, where Hiroshima is your life’s savings. Do not do it. No ifs and buts, just do not do it.
What I DO dabble in (quite often) is leveraged commodity ETFs. This is very risky stuff. Its the riskiest thing I do. I only do it with about 1% of my investments. Its been hilariously profitable, but its risky, and I don’t recommend it. What I recommend is doing a LOT of reading, a lot of analysis and buying and holding stocks of companies that seem undervalued, and having the patience to see the investment come good. This could be *any* company. Over the years I have done well out of companies that make customizable teddy bears, sporting goods, software, cars, electrical equipment, pharmaceuticals and tons of other things.
Oh and one last tip: The financial news (CNBC, Bloomberg, Yahoo finance etc) is all absolute garbage. Complete trash. Do not believe anything you read in the ‘financial news’. They are not selling information or analysis, they are selling ad-space, and the clickbait is designed to maximize that. This is why you can see headlines that say ‘Tesla SOARS!’ and ‘Tesla in freefall!’ within 2 hours of each other on the same site. The ‘journalists’ cranking out ‘market coverage’ are ad-salespeople. They have no idea what they are actually writing about.
So anyway, I write this not as specific stock advice (thats for you to research), but to point out that if you are someone like me, who finds personal interactions hard, who has problems working in teams, or for other people, then if you can find a way to make income through investments, you might find it perfectly suited to you. The reality is that a lot of very successful investors are quiet solo geeks sat at a laptop, not loud alpha-males screaming at each other wearing designer suits. Frankly the alpha-males are not very good at it. (but they like to play the role until it goes wrong, thats for sure).